Fringe Tutorial for Crochet and Knitted Creations
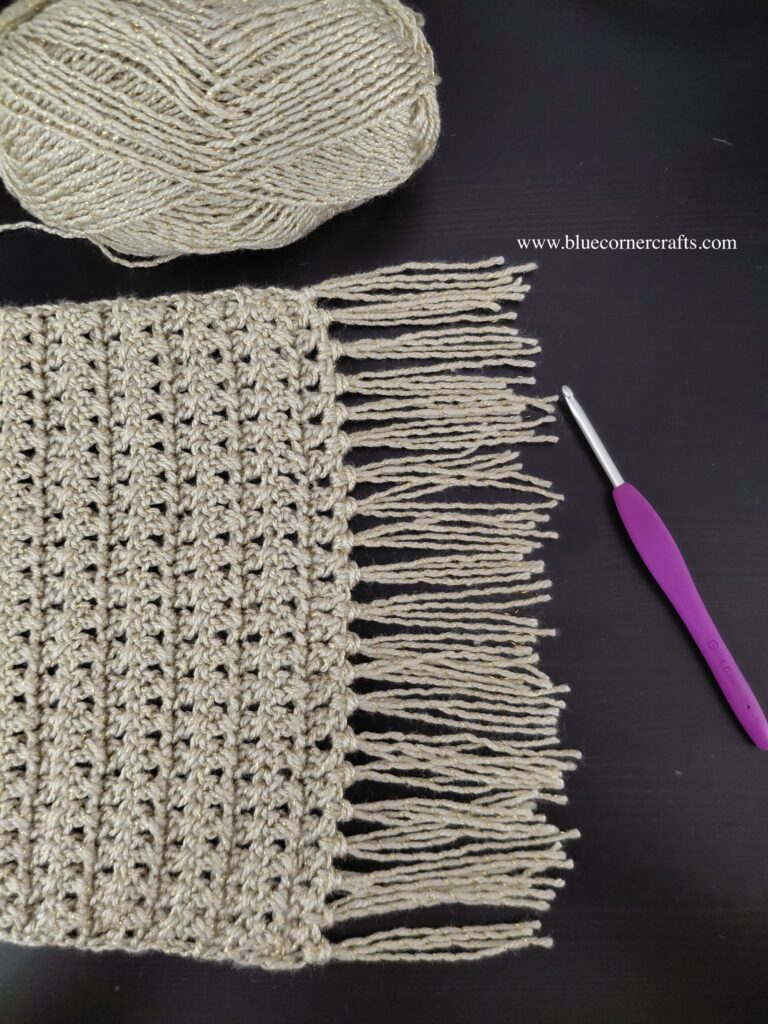
Adding a fringe to a crochet or knitted creation can be a fun and easy way to finish off your project! You can add a fringe to many different handmade items, including scarves, ponchos, wall tapestries and blankets. Below I’ve included a short easy photo tutorial on how to add a fringe to your crocheted or knitted items – please do feel free to leave a comment down below if you found this tutorial helpful or alternatively follow me on social media and send me a photo of your creations – I would love to see them!
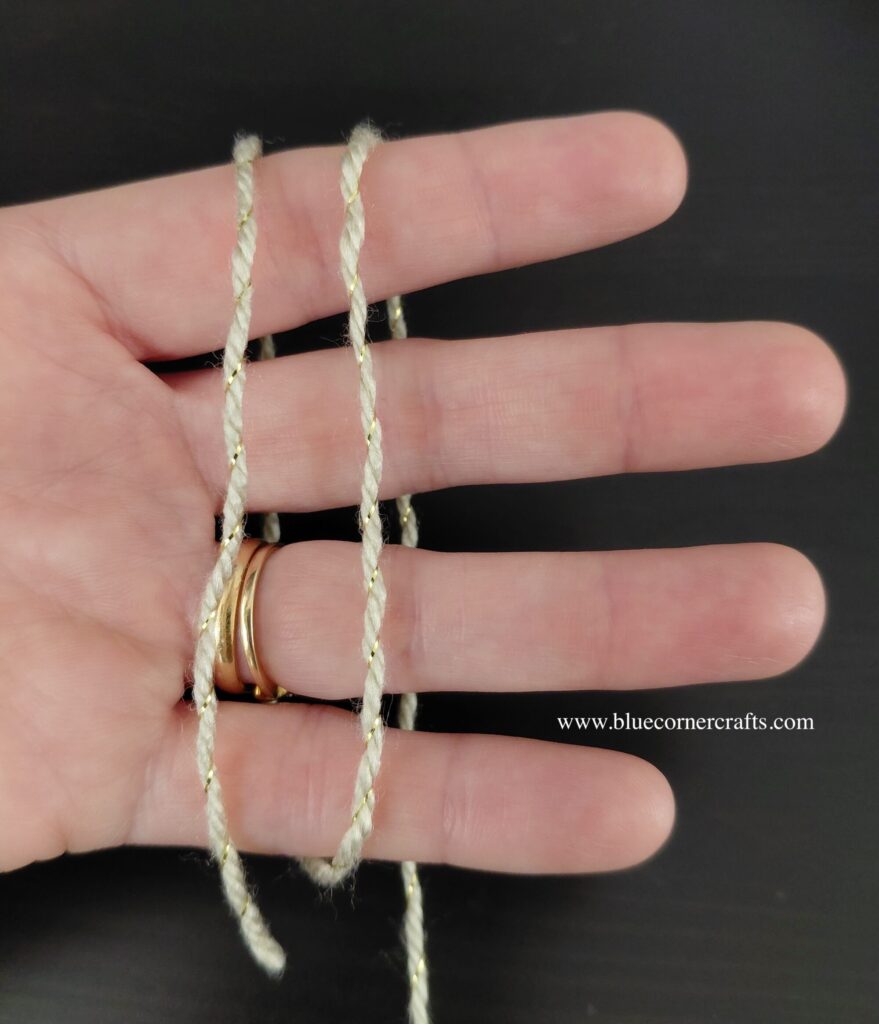
Step 1: Wrap some yarn around your hand (or even a piece of cardboard would work for this part). I only wrapped it round my hand twice since I wanted a light fringe for this scarf. However, you can make a thicker fringe by wrapping the yarn more times around your hand or cardboard. You can also make the fringe longer by using a wider piece of cardboard.
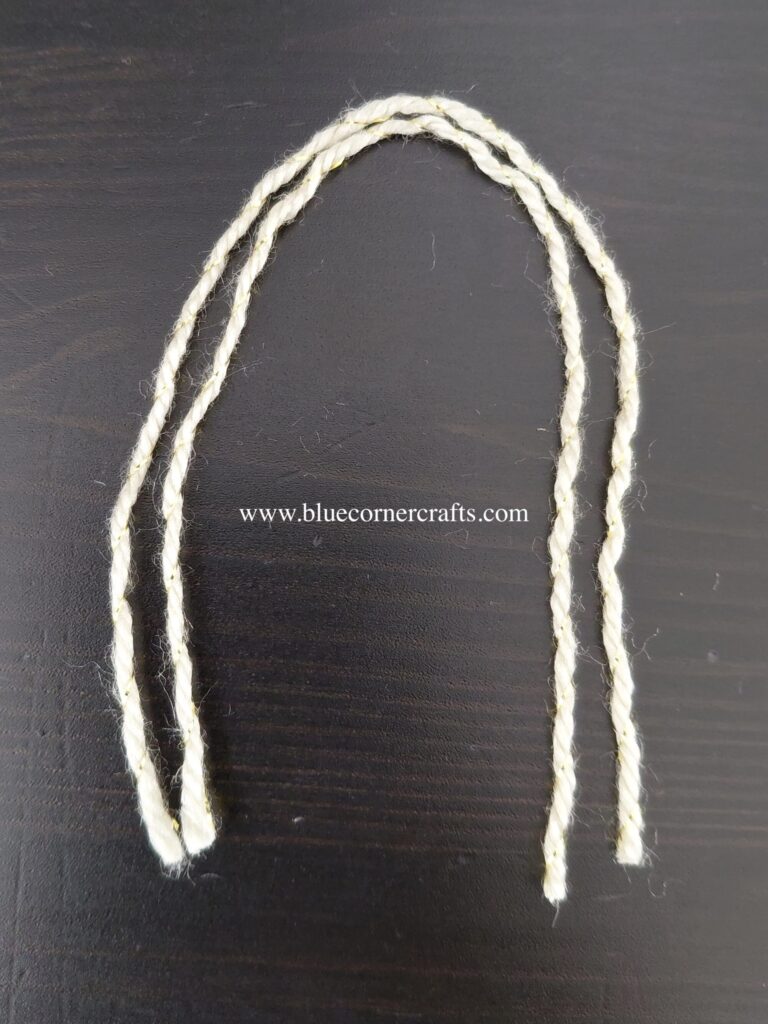
Step 2: Cut the yarn at one end with a scissors. You should be left with two strands of yarn (or more if you are making a thicker fringe).
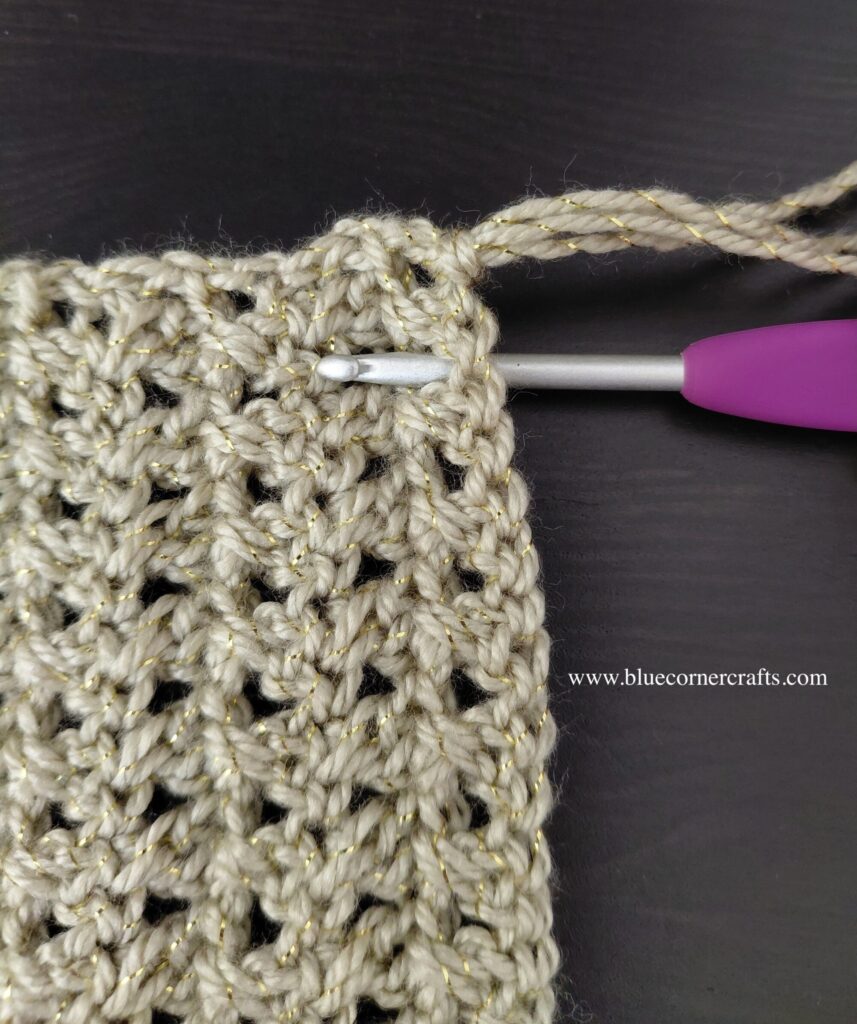
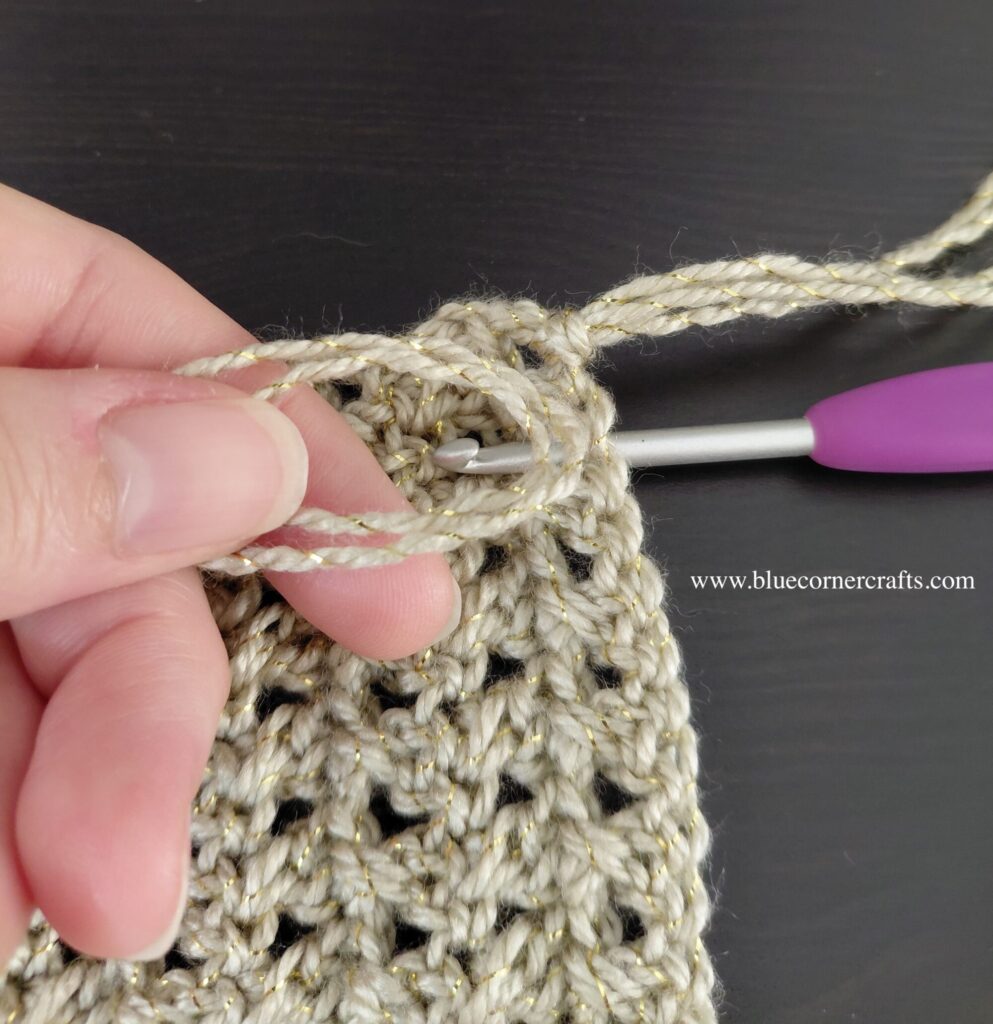
Step 3: Working at the border of your crochet or knitted item where you would like to add the fringe, insert your crochet hook into one of the border stitches or in the space between the stitches (as I have done in the Sparkly Nights Out Scarf).
Step 4: Using the crochet hook, pull the two pieces of yarn through the stitch (or stitch space).
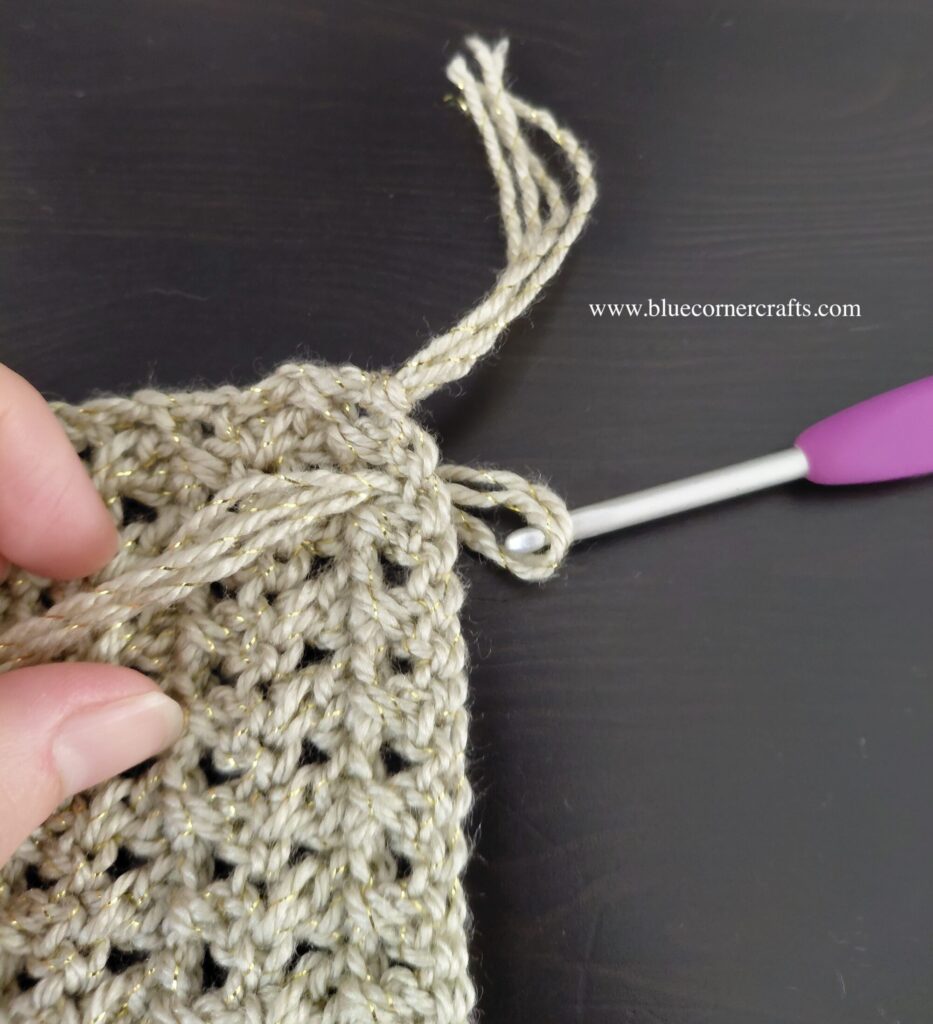
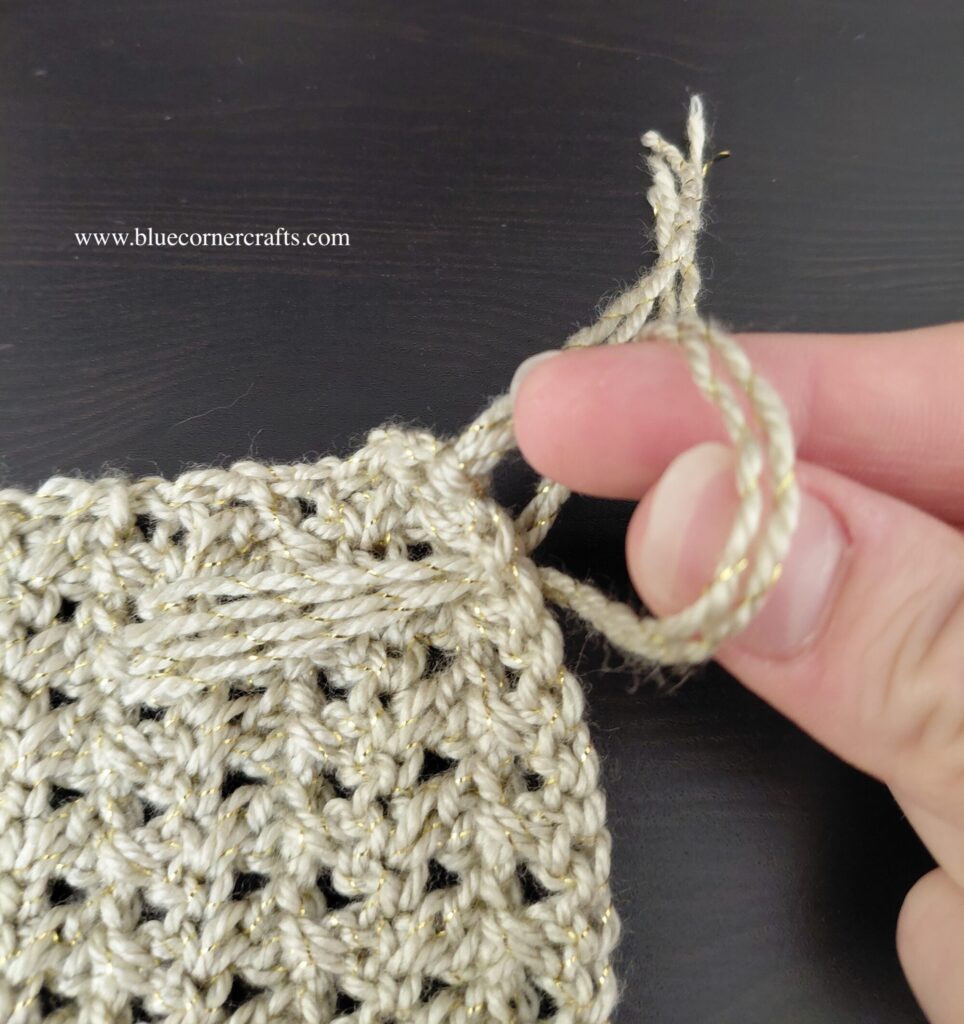
Step 5: Pull the strands of yarn through the stitch or stitch space forming a loop at one end while leaving the tails of the yarn at the other end.
Step 6: Carefully put your fingers through the loop, without pulling the yarn completely through the stitch or stitch space.
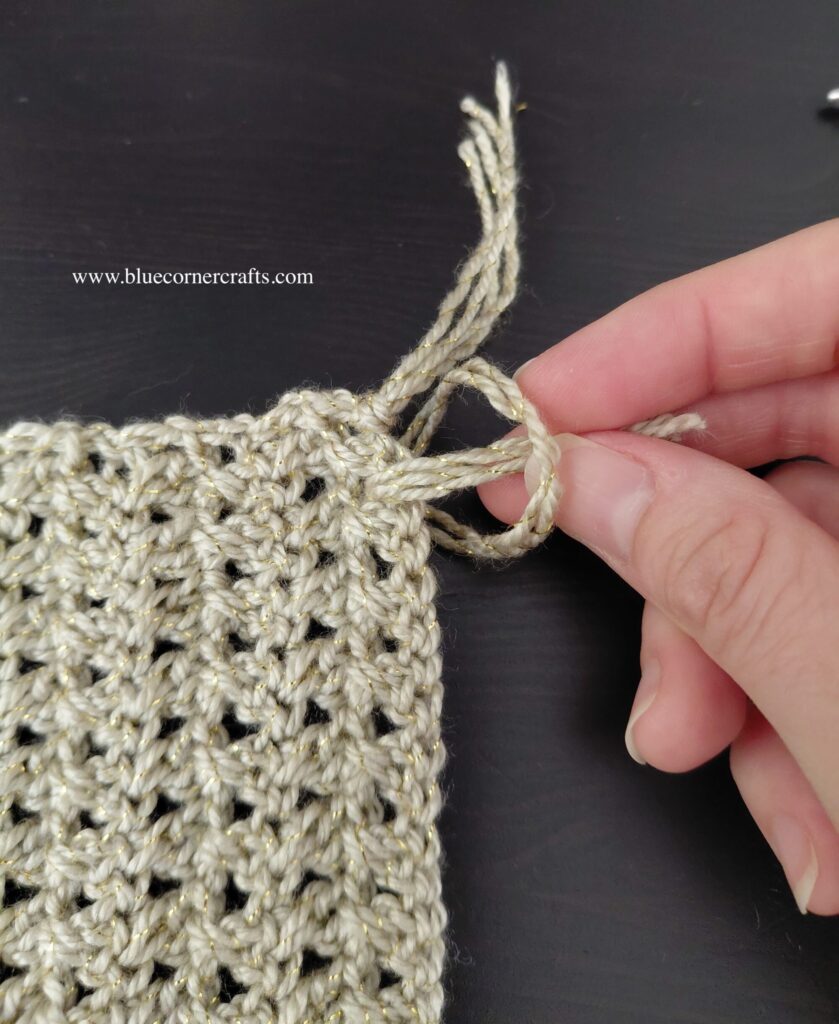
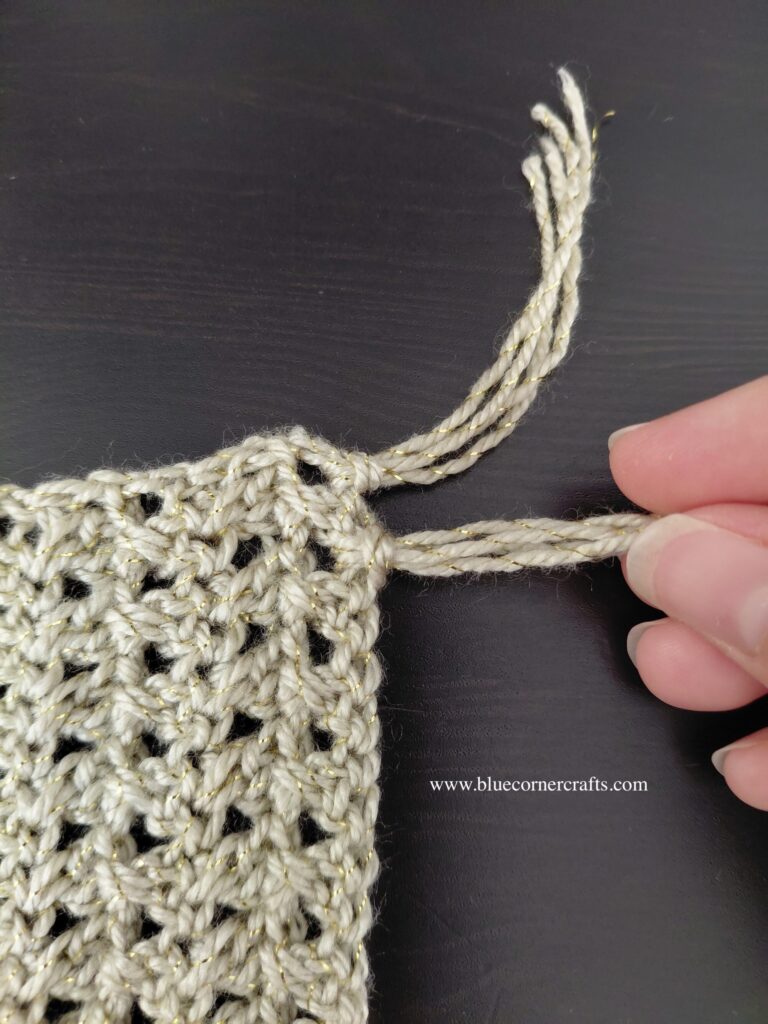
Step 7: With your fingers carefully grab the ends of the yarn and pull them through the loop.
Step 8: Keep pulling gently until the fringe is secured.
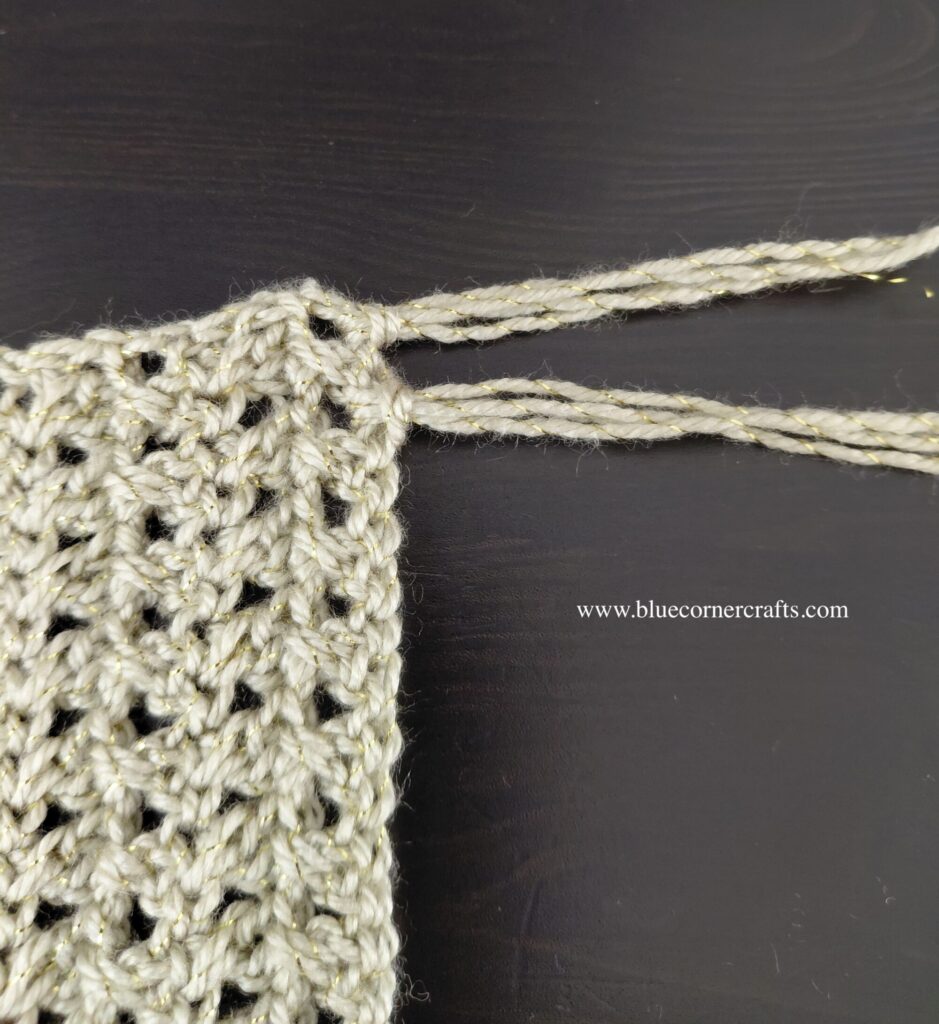
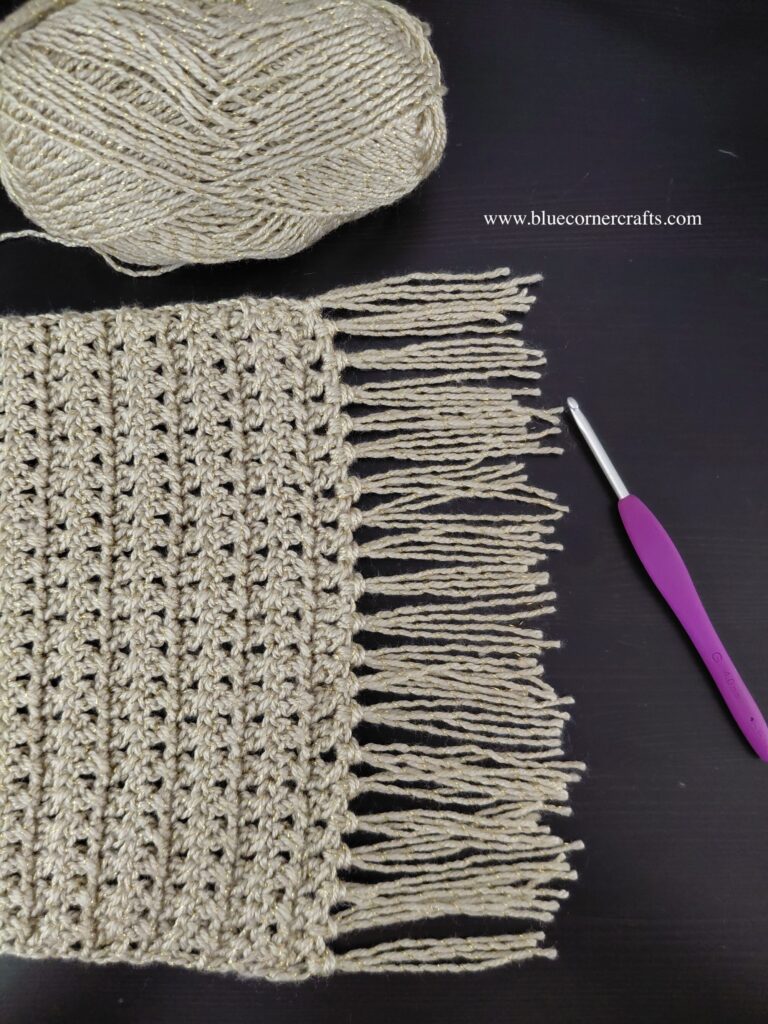
Step 9: Continue adding more fringe along the border. For this scarf I added one fringe in each stitch space, however, you may space out the sections of your fringe however you like along your border.
Step 10: Once your fringe is done you may trim it carefully with a scissors (this step is optional).
Every effort has been made to ensure this tutorial is accurate and easy to follow. If you have any questions, need clarification on a step, or spot a typo, please drop me a comment below or send me an email. I promise to get back to you asap and if needed, update the tutorial immediately so you can get back to crafting without any delay!


You May Also Like