Crochet Sparkly Nights Out Scarf
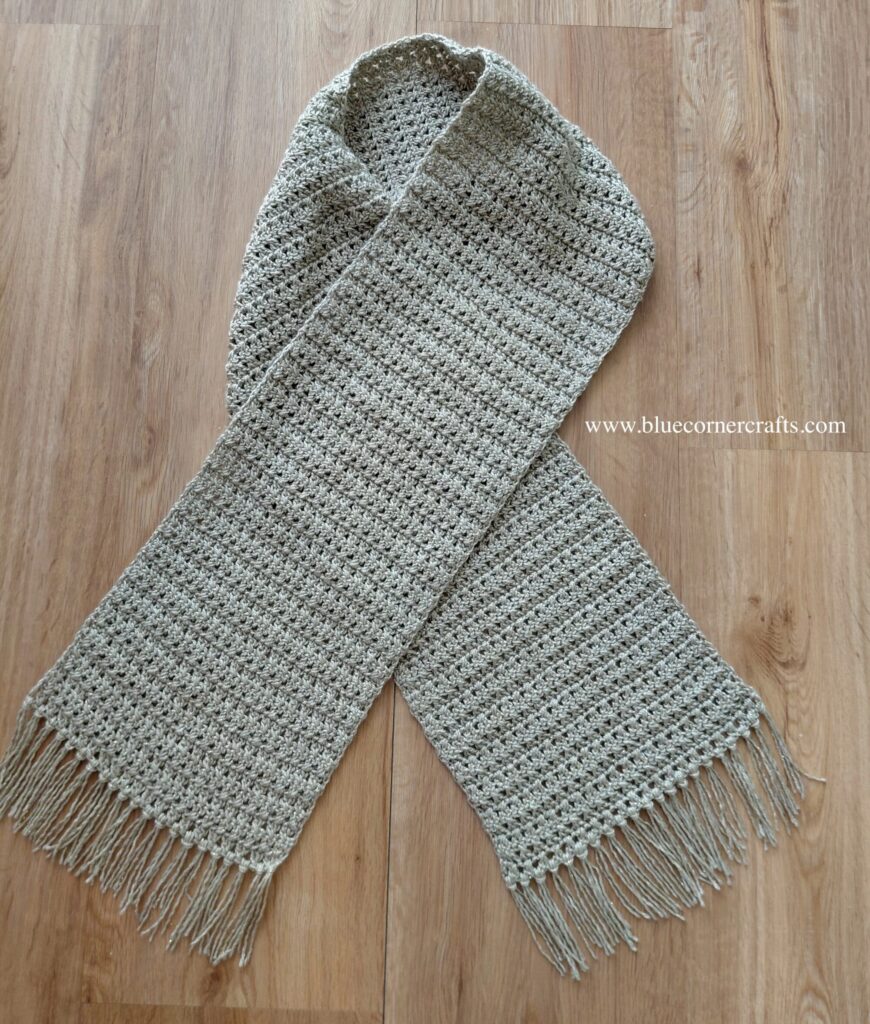
I was at my local homeware shop recently when I came across their small yarn section. Of course I had to stop and browse and the most beautiful skeins of sparkly Perfetto Lurex DK yarn by MEZ Cucirini caught my eye! There were several colours on the shelf and my mind began racing with the possibilities of what I could create with this gorgeous sparkly yarn!
For a while now I had been wanting to make a fancy scarf that I could wear in winter on one of my rare nights out with friends or family. When I saw the colour Nature Gold amongst the skeins of Perfetto Lurex yarn, I knew this would be the yarn I would use. So I grabbed a couple of skeins and started thinking about the perfect crochet stitch for this scarf.
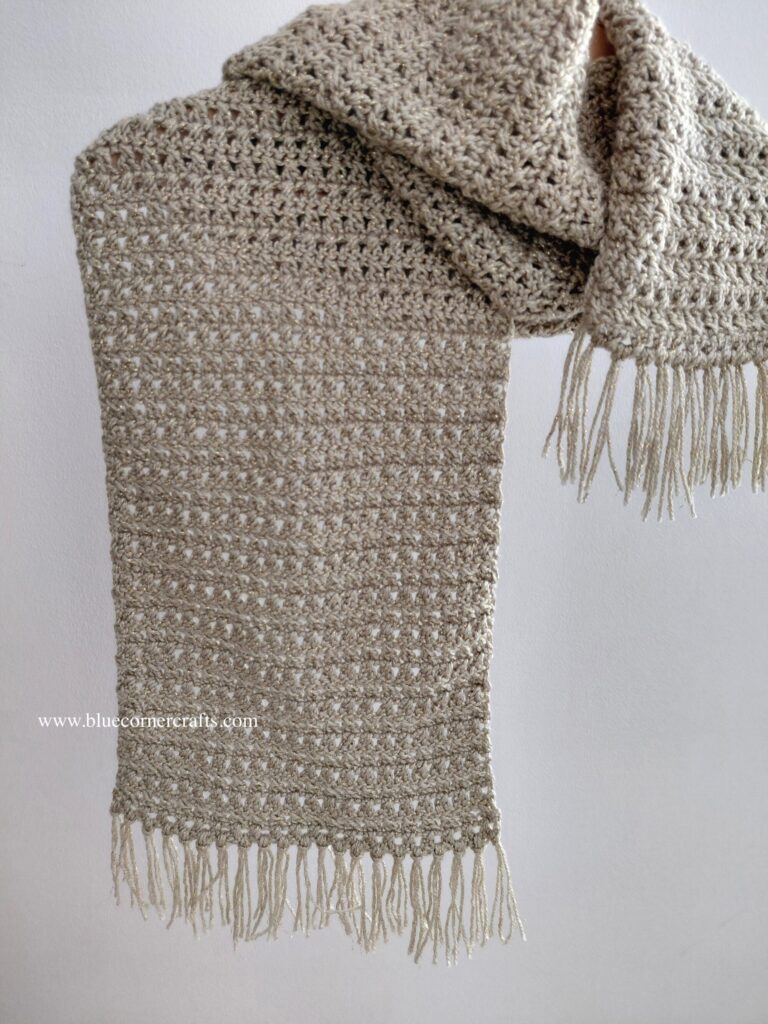
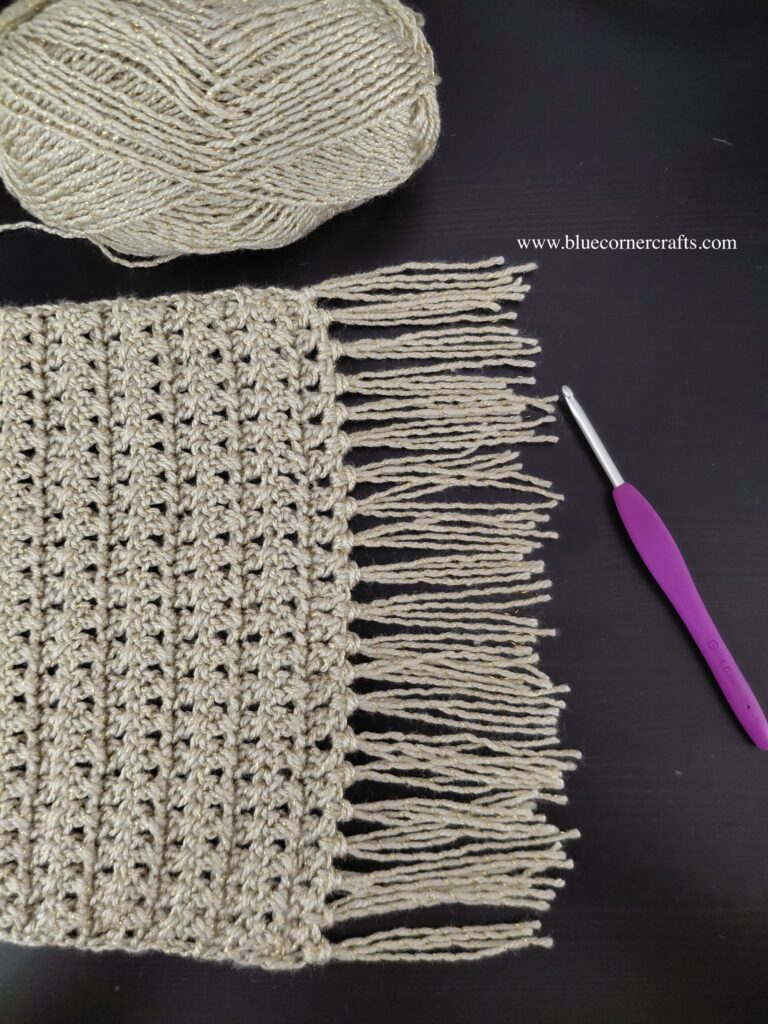
I wanted this scarf to be somewhat light and airy and after trying out some swatches of different filet and mesh type stitches I settled for the crossed double crochet stitch. This pattern uses only double and half double crochet stitches and gives this scarf a really pretty, slightly airy and reversible design! I finished off this scarf with a light fringe and have recently added a blog post with a step by step tutorial on how to add a fringe to crochet projects!
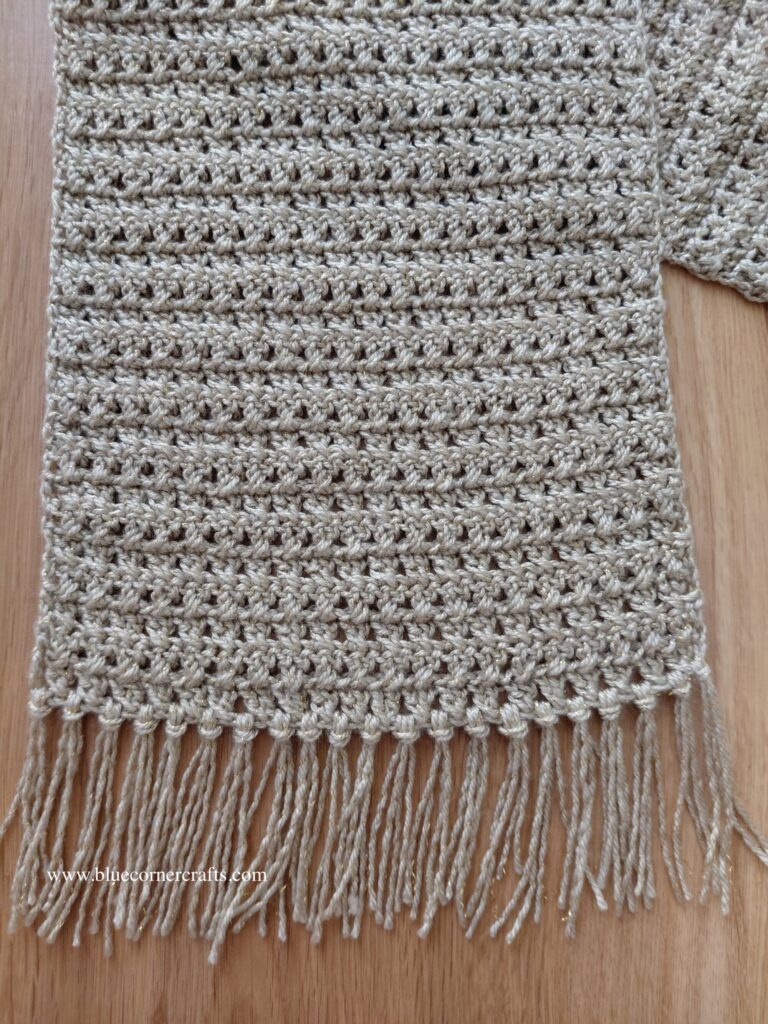
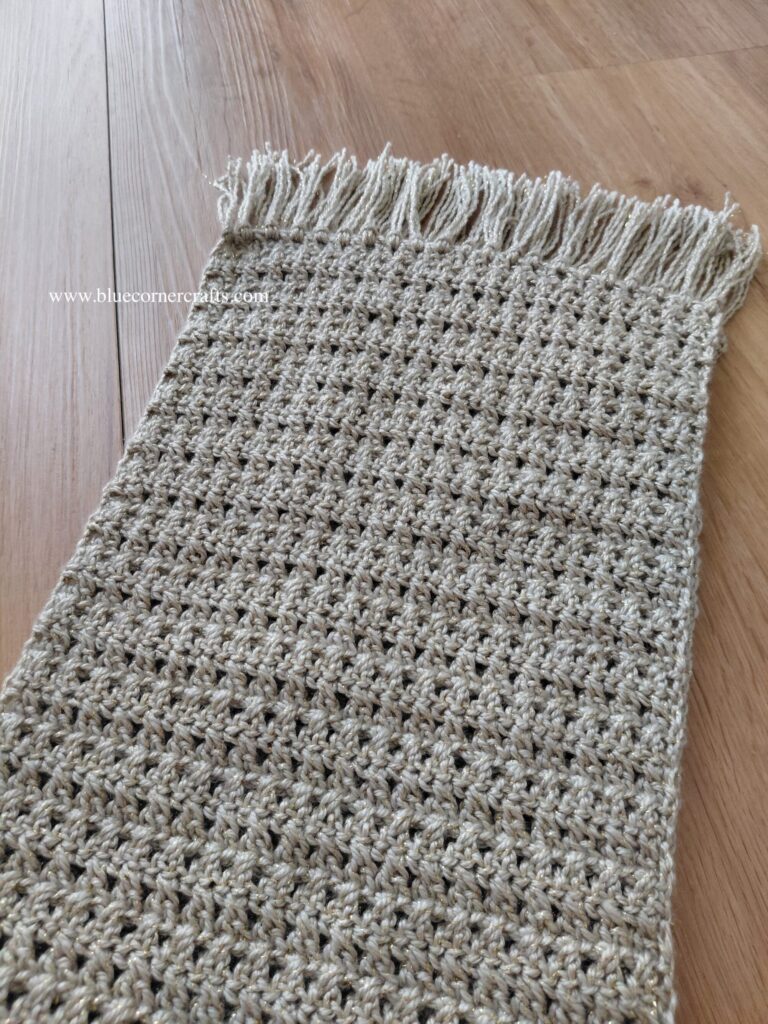
If you do crochet this Sparkly Nights Scarf please do leave me a comment down below or send me a photo on social media!
This post may contain affiliate links. If you click a link and make a purchase, I may receive a small commission (at zero additional cost to you) which helps support this blog. I only recommend yarn and craft supplies that I have used myself and love!
Materials:
- MEZ Cucirini Perfetto Lurex yarn in colour Nature Gold (02030), 4 skeins
- Size G (4.00mm) crochet hook
- Scissors
- Tapestry needle
- Stitch markers (optional)
Pattern notes:
- ch – chain
- st – stitch
- sc – single crochet
- dc – double crochet
- hdc – half double crochet
- sk – skip/skipped
Written in US terminology.
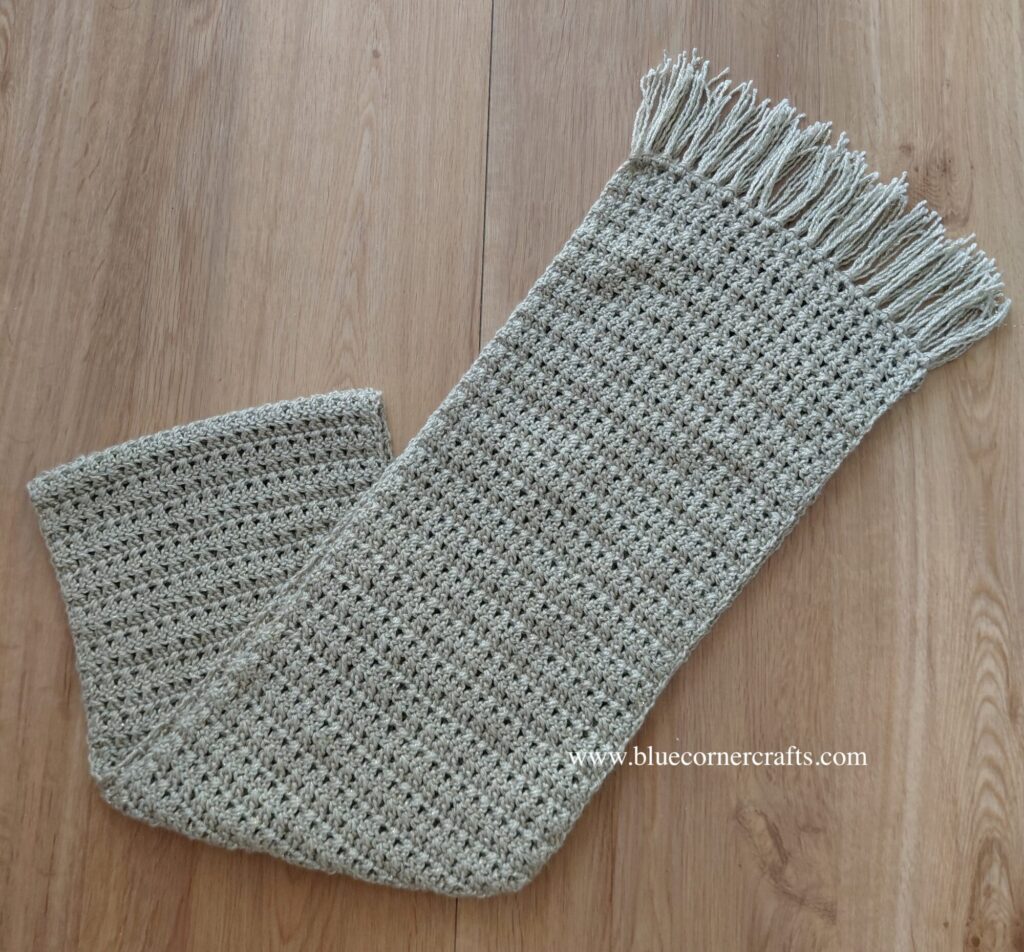
Scarf measures about 52 x 8 inches (140 x 20cm) without fringe. Size may vary depending on yarn, hook and tension used.
Width of scarf can be varied by chaining multiples of 2 + 4.
Length of scarf can be varied by crocheting more or less rows.
Pattern:
Ch 44
Row 1: Dc in the 5th ch from hook (the 4 sk ch count as a dc and 1 sk ch), work a dc in the previous (skipped) ch, *sk next ch, dc in the next ch, dc in the sk ch, repeat from * till the end of the row. In the last ch work a dc, turn your work.
Row 2: Ch 2 (counts as hdc), *sk next st, dc in next st, dc in the sk st, repeat from *across the row. In the last st (the ch of the previous row) work a hdc st.
Note: The last st (the ch 2 where the last hdc is worked into) at the end of every row can be easy to miss. I recommend attaching a stitch marker to the ch 2 at the beginning of the row to be able to easily identify where the last hdc st should be worked. I’ve included a photos below for clarity.
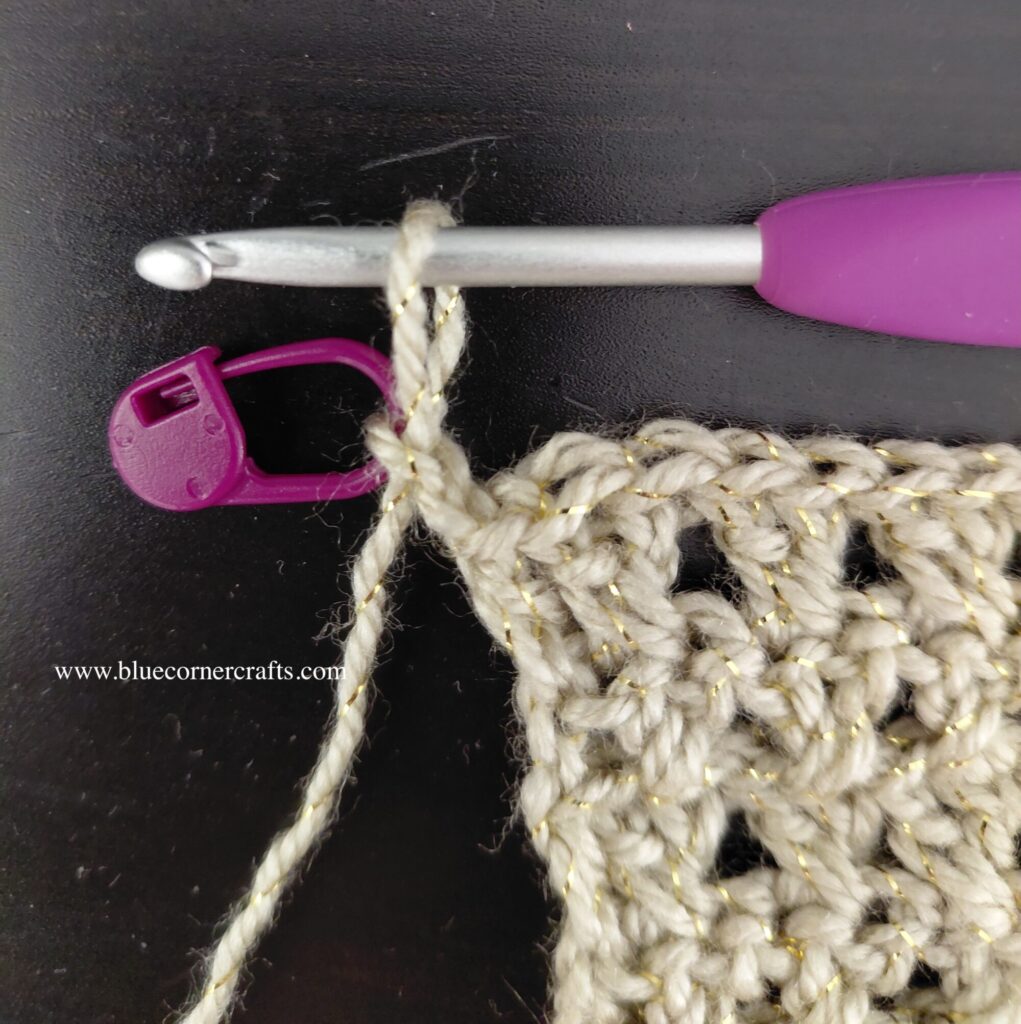
Row 3 – 136: Repeat row 2. At the end of Row , fasten off and weave in the ends.
Fringe:
To finish off this scarf I added a light fringe. Check out my step by step fringe tutorial on how to add a fringe to your crochet projects!
Every effort has been made to ensure this pattern is accurate and easy to follow. If you have any questions, need clarification on a stitch, or spot a typo, please drop me a comment below or send me an email. I promise to get back to you asap and if needed, update the pattern immediately so you can get back to crocheting without any delay!